The websites that you go on your Internet web browser are coded with Hyper Text Markup Language (HTML). Now I’m going to show you a tutorial on how to get started on making your own web site.
Steps
- Install a text editor
Here are the text editors that I like using:
Windows: Visual Studio Code
Android: NMM Text Editor (It has a file explorer too)
2. Create a new folder
You can name it whatever you want. Create it in a location that you can easily go to such as Documents.
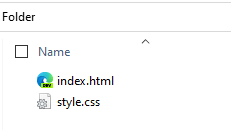
After creating the folder, add the following files inside it:
index.html
style.css
3. Open index.html
First, add the following code:
<!DOCTYPE html>
<html lang="en">
<head>
    <meta charset="UTF-8">
    <meta name="viewport" content="width=device-width, initial-scale=1.0">
    <title>Site Name (This appears in the website tab in your browser)</title>
</head>
<body>

</body>
</html>
Between <body>, add the following:
<h1>This is a Heading 1</h1>
<h2>Heading 2</h2>
<p>This is a paragraph lorem ipsum dolor sit amet, consectetur adipisicing elit. Labore accusantium aliquid quas nisi quo reiciendis quis necessitatibus et, animi quisquam eveniet molestiae nihil officiis fugiat omnis? Natus enim illo recusandae?</p>
<a href="https://www.google.com">This is a link to Google.com</a>
<br> <!--Line break-->
<button>This is a button</button>
Save an refresh. Your site should look like this right now:

You may see that your site does not look nice, but however you made your first HTML site! Now, let’s style it!
Style your site
We can style HTML sites by using Cascading Style Sheet (CSS). Now, let’s link index.html to style.css!
Copy and paste the following code into your HTML:
<link rel="stylesheet" href="style.css">
Now, let’s open our style.css file. Paste in the following code in it:
    *{
        /* Global styles go here: */
        font-family: /* Type in your favorite font(s) like "Font", Another Font, sans-serif */ "SF UI Text", sans-serif;
    }
    button{
        /* Customize your buttons */
        background: #ff496c;
        color: #fff;
        border: none;
        border-radius: 10px;
        font-size: 16px;
        padding: 5px;
        outline: none;
    }
    html{
        background: blueviolet;
        padding: 100px 50px;
    }
    body{
        border: 30px solid rebeccapurple;
        border-radius: 20px;
        background: #fff;
        padding: 20px;
    }
Save an refresh the page. It will look like this:
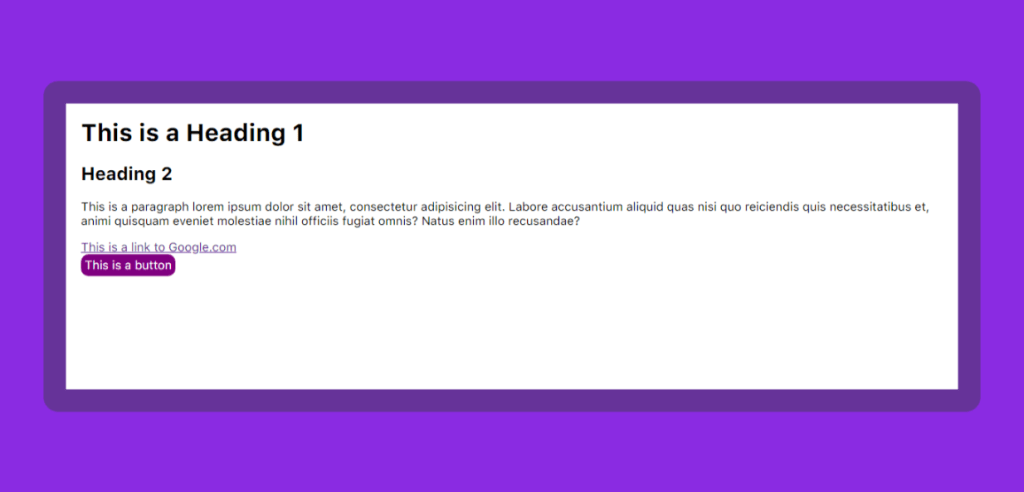
Much nicer. This is your website. Congrats!
Used item definitions
Now, I will show the definition of anything I’ve used in the website.
html: the main part of the HTML site
link: links other files to this file (such as a favicon, stylesheet, etc.)
button: a button
h1: heading 1 (biggest) heading
h2: heading 2
p: a paragraph
a: a link
href=”…”: HREF stands for a link
br: a line break
px: pixels
color: text color
background/background-color: a background color
padding: margins inside an object
outline: a black outline that comes when clicking buttons and input fields. Set this to none to hide this.
border: stroke. This property includes width, style, color.
border-radius: a radius (roundness) of an object.
Note: If you’re using Visual Studio Code (like me), you can hover on a tag or a CSS property to learn more about it. In it, there is a link to MDN for more information.
This is it. Congratulations on your first HTML site! You can continue making more sites and become a pro like me one day. You can publish your sites to the Internet if you buy a domain. But you’ll have to be careful for scams. Hope you liked this lesson!

Leave a comment